
Introduction
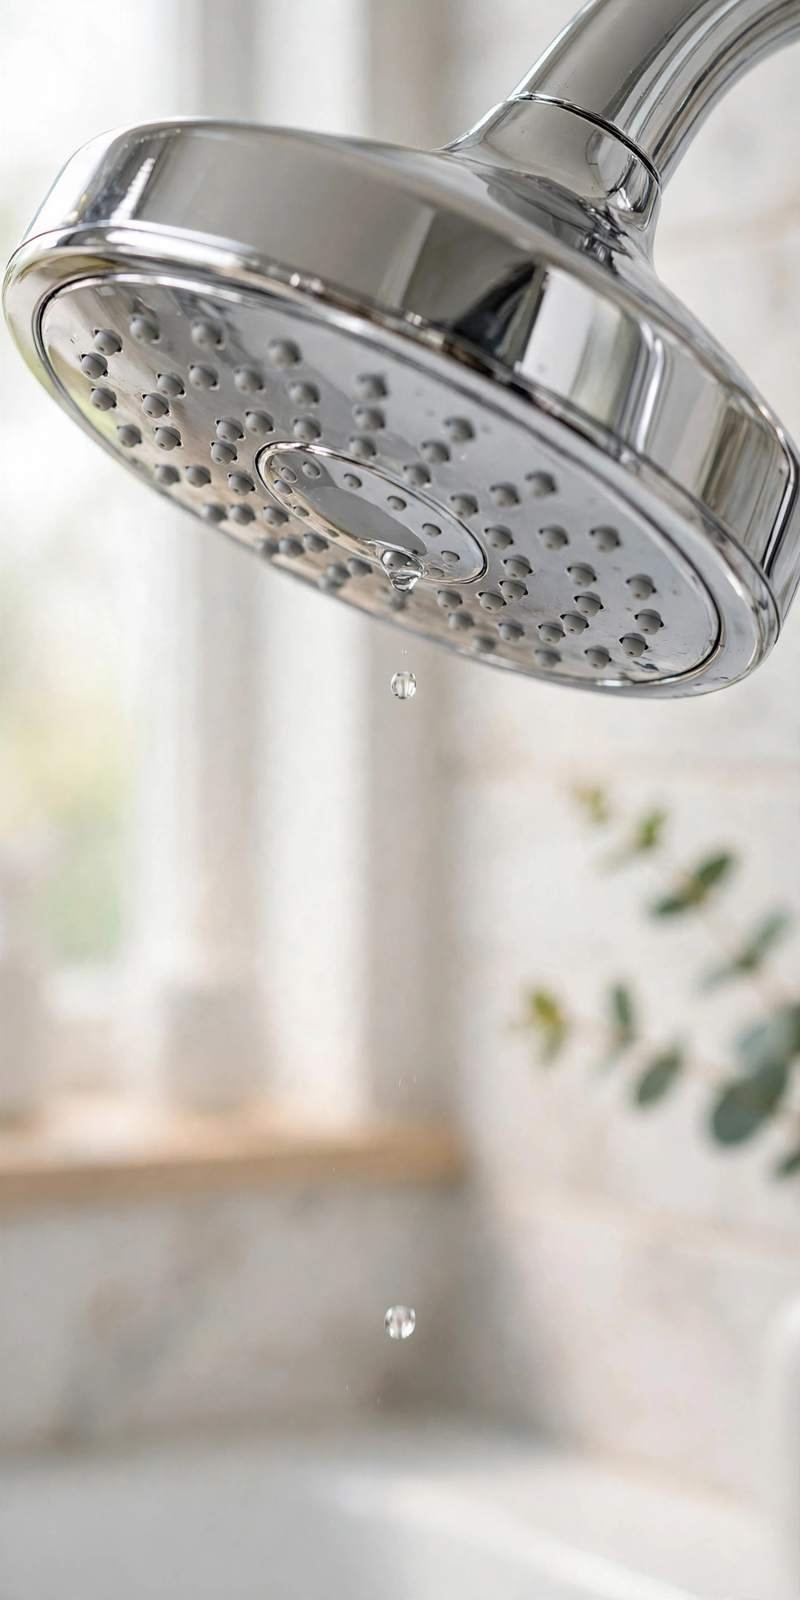
That steady drip from the showerhead long after you turned off the water is more than an annoyance. A showerhead dripping once per second can waste hundreds of gallons of water a year, add to your water bill, and leave limescale stains in the shower. The good news is that learning how to fix a dripping showerhead is one of the easiest beginner plumbing jobs. Most drips come from a worn washer, a bad seal, or mineral buildup, and the repair usually takes under an hour.
This guide walks you through the full repair, from figuring out where the drip is coming from to testing the fix, including when the problem is the valve behind the showerhead, not the head itself.
What Causes a Dripping Showerhead?
Almost every dripping showerhead traces back to one of a few common causes:
- A worn washer or gasket. A small rubber washer seals the joint where the showerhead meets the shower arm. Over time it hardens, cracks, or flattens, and water sneaks past.
- Worn thread seal tape. White tape wrapped around the shower arm threads helps make the joint watertight. If it is damaged, missing, or badly applied, water escapes around the connection.
- Mineral buildup. Hard water leaves limescale deposits inside the showerhead. Deposits can block spray nozzles, create pressure points, and stop the head from sealing properly.
- A loose connection. A showerhead that has worked loose from the shower arm drips at the joint, especially while the shower is running.
- A worn shower valve or cartridge. If the showerhead keeps dripping long after the water is off, the problem may be the valve. A worn cartridge or valve seal lets fresh water through even when the handle is fully off.
- High water pressure. Pressure above 80 psi stresses every seal in the system and shortens the life of washers and cartridges. Normal household pressure is 40 to 60 psi.
- A cracked showerhead or swivel joint. A crack in the head or wear at the swivel ball can leak water that looks like a drip from the nozzles.
Where the water comes from tells you a lot: leaking around the connection points to the washer or the tape, a drip from the spray nozzles points to mineral buildup or a valve problem, and water from the swivel joint usually means the head itself is worn out.
Is It a Real Leak or Just Leftover Water?
Before you take anything apart, check whether the drip is actually a leak. After a shower, water trapped inside the showerhead and the shower arm drains out slowly, and a few minutes of dripping is normal, especially with large rain showerheads, which hold more water.
Give it ten minutes. If the dripping stops on its own, there is nothing to fix. If it keeps dripping, or starts again after hours of no use, water is getting past a seal or a valve, and the repair is worth doing.
Tools and Parts You Will Need
Most showerhead repairs call for the same short list, so gather everything before you start:
- Adjustable wrench
- Tongue and groove pliers
- Flathead screwdriver
- White vinegar
- An old toothbrush
- A plastic bag and a rubber band or twist tie
- PTFE thread seal tape, also called plumber’s tape
- Replacement washers or a showerhead gasket that matches your model
- Plumber’s grease
- A soft cloth to protect the chrome finish
- A towel and a small tray for screws and parts
- Your phone, to photograph each step
Buy the replacement washer after you take the old one out, if you can. Bring the worn washer to the hardware store and match it exactly.
How to Fix a Dripping Showerhead, Step by Step
These steps cover the most common causes, in the order you should try them:
Step 1: Turn Off the Water Supply
Turn off the water to the shower. Many bathrooms have a shutoff valve for the shower, often behind an access panel. If yours does not, shut off the main water supply instead. Then turn the shower handle on briefly to drain the line.
Step 2: Remove the Showerhead
Wrap a soft cloth around the nut where the showerhead meets the shower arm, to protect the finish. Use an adjustable wrench or tongue and groove pliers to twist the showerhead counterclockwise and unscrew it from the arm. If it is stuck, a little penetrating oil around the joint helps. Let it sit for ten minutes, then try again. Do not force it, or you will scratch the finish.
Step 3: Clean Mineral Buildup from the Showerhead
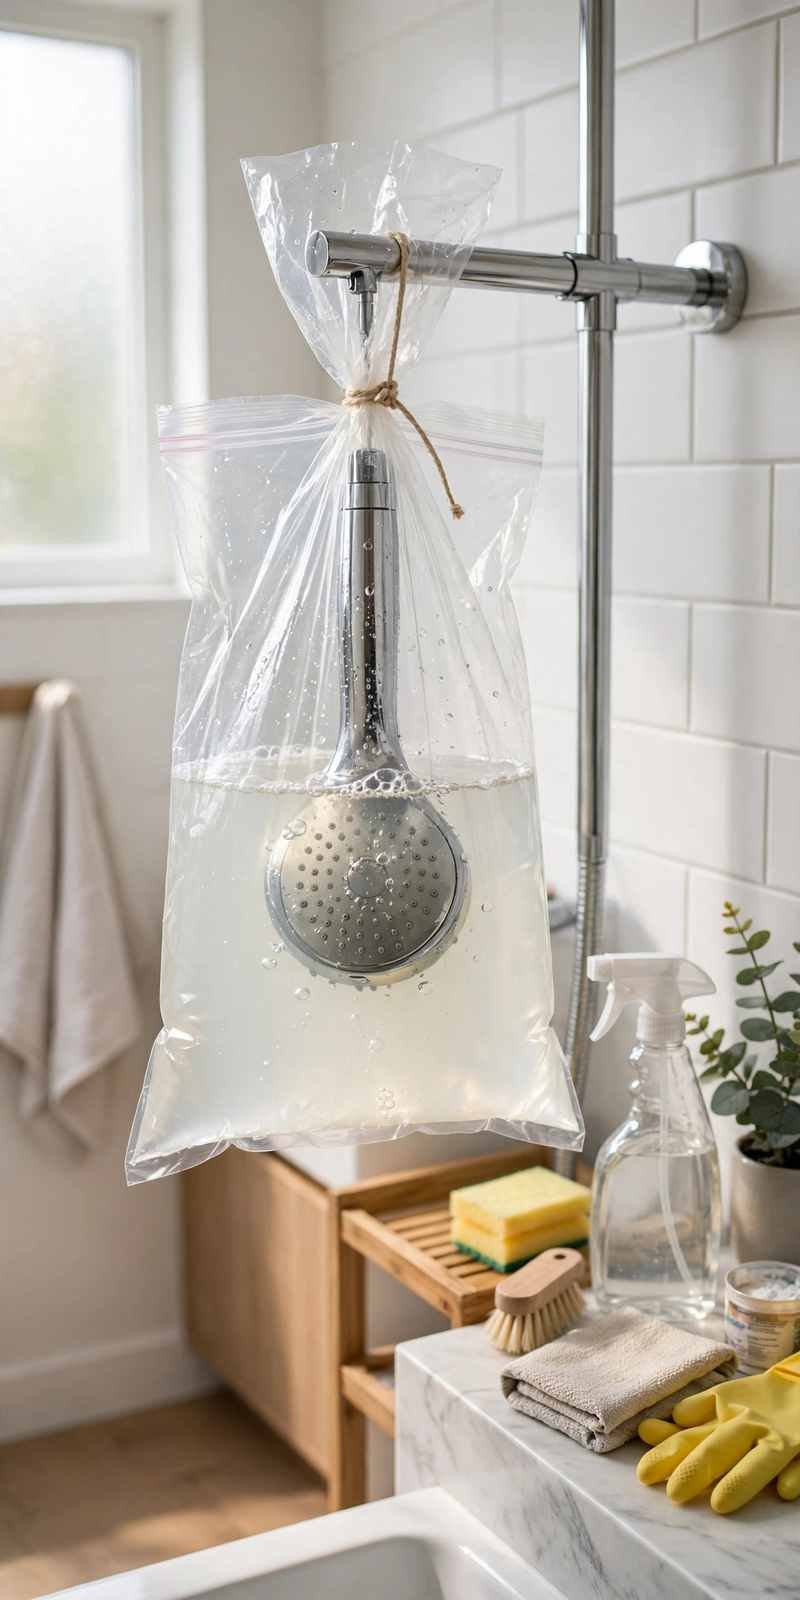
If the connection looks dry but the showerhead sprays unevenly or drips from individual nozzles, mineral deposits are likely the problem. Mix white vinegar with a little warm water in a plastic bag, slip the bag over the showerhead, and secure it with a rubber band so the head is fully submerged. Leave it for one to two hours, longer for heavy buildup. Then scrub the spray nozzles gently with an old toothbrush and rinse the head thoroughly.
If you have already removed the showerhead, soak it in a bowl of vinegar instead. While it soaks, check the small screen or flow restrictor inside the head. Limescale collects there too, so rinse it clean before you reassemble.
Step 4: Replace the Washer or Gasket
Look inside the showerhead nut for the rubber washer or gasket, which seals the joint between the showerhead and the shower arm. If it is cracked, flattened, brittle, or hard, it is your leak. Pry it out gently with a flathead screwdriver and press the new one into the same seat, making sure it sits flat. A washer that is tilted or pinched will still leak.
Step 5: Apply New Thread Seal Tape
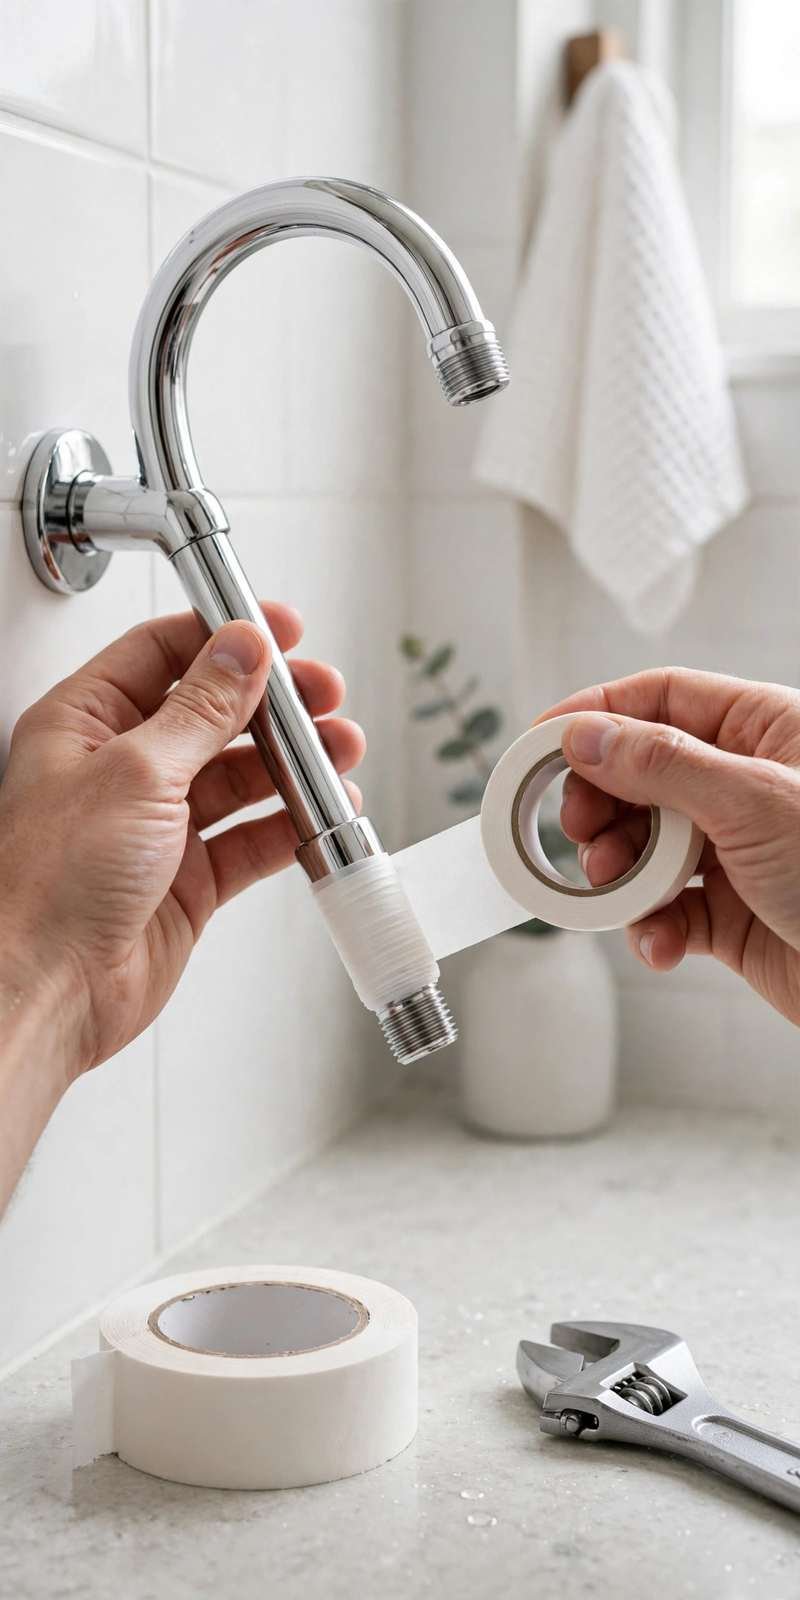
Peel the old thread seal tape off the shower arm threads and wipe them clean. Wrap new PTFE tape around the threads clockwise, the same direction the showerhead turns when you tighten it, so the tape stays in place instead of unwinding. Wrap it snugly four to five times, then tear it off and press the end flat. Do not wrap it counterclockwise, or it will bunch up and leak.
Step 6: Refit the Showerhead and Test
Screw the showerhead back onto the arm by hand first, then tighten it gently with the wrench, using the cloth to protect the finish. Do not overtighten, or you will crack the fitting or crush the new washer. Turn the water supply back on slowly, then run the shower and check for drips at the connection, the swivel joint, and the nozzles. Turn the shower off and watch for ten minutes. If the dripping has stopped, you are finished.
When the Valve Is the Problem
If your showerhead still drips after cleaning and replacing the washer and tape, the problem is probably the shower valve, not the head. The valve sits behind the shower handle and controls the flow of water. Inside it is a cartridge or a set of valve seats, and when those wear out, the valve no longer shuts off completely, so water keeps reaching the showerhead.
You can check this easily. Turn the shower off and watch the tub spout as well as the showerhead. If water drips from both, or the drip continues for hours, the valve is the likely cause.
Replacing a shower valve cartridge is a bigger job than replacing a washer. It means shutting off the water, removing the handle and trim plate, pulling the old cartridge out, and fitting a new one of the same brand and model. Many homeowners can do it with a cartridge puller, but if you are not comfortable opening up the valve, call a licensed plumber. Valve work that goes wrong can cause a much bigger leak inside the wall.
When to Replace the Showerhead Instead
You can fix most dripping problems without replacing the showerhead, but sometimes a new head is the right call. Replace it if the head is cracked, if the swivel ball joint leaks no matter how tight the connection is, if the spray nozzles are permanently clogged with buildup that vinegar will not clear, or if the internal parts are worn and no replacement washer fits.
A basic replacement showerhead costs 20 to 50 dollars and takes ten minutes to fit. Unscrew the old head, apply fresh thread seal tape to the arm, and screw the new head on by hand, then tighten it gently with a wrench. A new showerhead is also a good moment to check the shower arm itself. If the arm is corroded or its threads are damaged, replace the arm too.
Troubleshooting: When the Drip Won’t Stop
If you replaced the obvious parts and the showerhead still drips, work through these checks:
- The drip continues after a new washer. The shower arm threads may be damaged, or the tape was wrapped in the wrong direction. Remove the head, rewrap the tape clockwise, and refit it.
- Water leaks from the connection while the shower is on. The connection is loose or the gasket is the wrong size. Tighten it gently, or match the gasket to your model.
- Water drips from the swivel joint. The swivel ball or its internal seal is worn. Most heads need replacing at that point.
- The showerhead sprays unevenly. Mineral buildup is blocking some nozzles. Soak the head in vinegar again and scrub the nozzles.
- The drip stops, then starts again hours later. The shower valve is letting water through. See the valve section above, or call a plumber.
- Low water pressure after the repair. Debris may be caught in the head’s screen or flow restrictor. Take the head off, rinse the screen, and flush the line.
When to Call a Plumber
DIY works for most showerhead drips, but some situations call for a licensed plumber. Call one if the drip continues after you have replaced the washer, tape, and showerhead, if water is leaking from inside the wall or the ceiling below, if the shutoff valves are corroded and will not turn, if more than one fixture is dripping at once, or if you see water damage or mold. This article is educational only and is not professional plumbing advice. For electrical, gas, or structural work, always consult a qualified professional.
How to Prevent Future Drips
A few small habits make your repair last longer. Clean the showerhead in vinegar every few months if your water is hard, so mineral buildup never blocks the nozzles. Do not overtighten the showerhead, since crushing the washer shortens its life. Keep your water pressure in the normal 40 to 60 psi range. Once a year, unscrew the showerhead and check the washer and the tape.
Frequently Asked Questions
How much water does a dripping showerhead waste?
A showerhead dripping once per second can waste hundreds of gallons a year, and a faster drip wastes far more. That adds up on your water bill, and the moisture can stain the shower and feed mold.
How much does it cost to fix a dripping showerhead?
Usually under 20 dollars. A washer costs a few dollars, a roll of thread seal tape costs a few dollars, and white vinegar costs almost nothing. A replacement showerhead costs 20 to 50 dollars.
How long does the repair take?
Most first-timers finish in 30 to 45 minutes, including the vinegar soak. If the showerhead is badly clogged, the soak adds an hour or two, but most of that is waiting.
Can I fix a dripping showerhead without turning off the water?
You can clean the outside of the showerhead and tighten the connection without turning the water off, but any repair that means removing the head should start with the water off.
A Quiet Shower in Under an Hour
A dripping showerhead looks like a plumber’s job, but most of the time it is a worn washer, a bad wrap of tape, or a head full of limescale. Diagnose the drip first, clean the head, replace the washer and tape, and test your work.
If this guide helped, you may also enjoy our beginner’s guide to patching a hole in drywall, our guide to unclogging a drain without chemicals, our guide to fixing a squeaky door hinge, our guide to fixing a running toilet, and our guide to fixing a leaky faucet. You can also learn more on our About page, reach us through our Contact Us page, read our Privacy Policy, and read our Disclaimer. This article is educational only, not professional advice. For plumbing, electrical, gas, or structural work, consult a qualified professional, and always follow safety precautions.