
Introduction
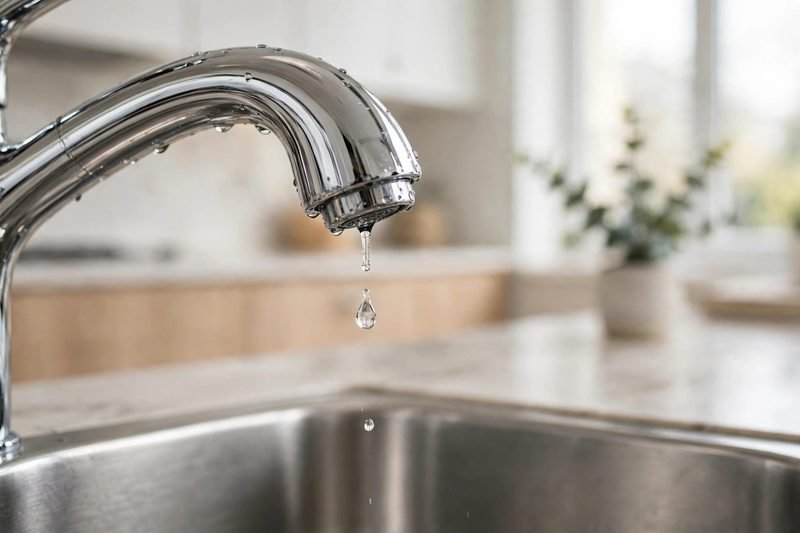
That steady drip is more than an annoyance. A faucet dripping once per second wastes over 3,000 gallons of water a year, adds to your water bill, and can stain your sink or tub. The good news is that learning how to fix a leaky faucet is one of the easiest beginner plumbing jobs. Most leaks come from a single worn-out part that costs a few dollars, and the whole repair usually takes under an hour.
This guide walks you through the full repair, from finding the cause to testing the fix, for all four common faucet types. You do not need plumbing experience, just patience and the right replacement part.
What Causes a Leaky Faucet?
Almost every faucet leak traces back to a worn-out part inside the fixture. Water flows through it dozens of times a day, and the small rubber and metal parts that seal it wear out. The most common causes are:
- A worn washer. The most common cause on older compression faucets. Every time you close the handle, the washer is pressed against the valve seat. Over time it hardens, cracks, or flattens, and water sneaks past it.
- A damaged O-ring. A small rubber ring that seals the stem or spout. When it dries out or cracks, water leaks around the handle or the base.
- A failed cartridge. In single-handle faucets, a cartridge controls the water flow. If it wears out, the faucet drips even when fully off.
- A corroded valve seat. The connection between the faucet and the spout. Hard water leaves mineral deposits on it, and corrosion creates tiny gaps that leak.
- Worn seals and springs. Ball and ceramic disc faucets rely on rubber seals and small springs. When they wear out, the faucet drips.
- High water pressure. Pressure above 80 psi stresses every seal and shortens the life of washers and cartridges. Normal household pressure is 40 to 60 psi.
- Loose parts. A loose packing nut or handle screw can let water seep out around the handle.
Where the water comes from tells you a lot. A drip from the spout usually means a worn washer, cartridge, or seal. Water at the base means a worn O-ring or a loose connection. Water from the handle points to the packing nut or the O-ring.
Tools and Parts You Will Need
Most faucet repairs call for the same short list, so gather everything before you start:
- Adjustable wrench
- Flathead and Phillips screwdrivers
- Allen wrench set
- Needle-nose pliers
- Replacement washers, O-rings, or a cartridge kit that matches your faucet
- Plumber’s grease
- White vinegar and an old toothbrush for cleaning mineral buildup
- Penetrating oil, in case a handle is stuck
- A towel and a small tray for screws and parts
- Your phone, to photograph each step
Buy the replacement part after you take the old one out, if you can. Bring the worn washer, O-ring, or cartridge to the hardware store and match it exactly. A washer that is almost the right size will still leak.
Identify Your Faucet Type
There are four common designs, and the repair is different for each:
Compression faucets have two handles that turn several times and use rubber washers. Cartridge faucets have one or two handles with a cartridge inside. Ball faucets have a single handle over a rounded ball and are common in kitchens. Ceramic disc faucets have a single lever that moves in a smooth arc and are the most durable design.
If you are not sure which type you have, look up the brand and model, usually printed on the base or the handle, or take a photo of the parts to the hardware store.
How to Fix a Leaky Faucet, Step by Step
These steps work for every faucet type. The details change inside, but the order is the same:
Step 1: Turn Off the Water Supply
Look under the sink for the two shutoff valves and turn them clockwise until they stop. If your sink does not have them, shut off the main water supply to the house instead. Then open the faucet to drain the water left in the line.
Step 2: Plug the Drain
Drop in a sink stopper or lay a rag over the drain. Screws, clips, and washers are exactly the size that disappears down a drain.
Step 3: Remove the Handle
Pry off the decorative cap on top of the handle with a flathead screwdriver. Underneath is a screw. Remove it and lift the handle off. If the handle is stuck, a little penetrating oil around the base helps. Let it sit for ten minutes, then wiggle the handle gently. Do not force it, or you will scratch the finish.
Step 4: Take the Faucet Apart
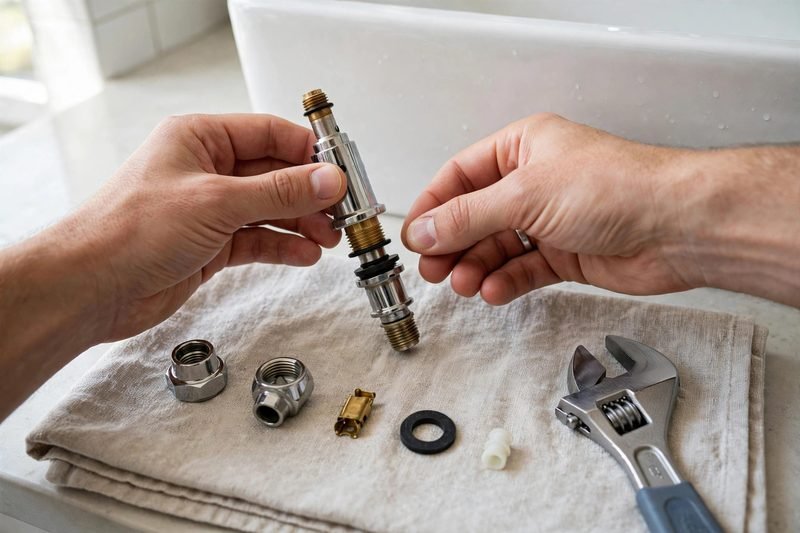
Use your wrench to loosen the packing nut and expose the inner assembly. On a compression faucet, unscrew the stem. On a cartridge faucet, pull the retaining clip and lift the cartridge out. On a ball faucet, loosen the cap and lift out the ball. On a ceramic disc faucet, remove the disc cylinder. Lay each piece out in the order you removed it, and take a photo.
Step 5: Inspect and Replace the Worn Part
Look at every part you removed. A washer that is flattened, cracked, or hard is your leak. An O-ring that is brittle or stretched is your leak. A cartridge with cracks or mineral crust is your leak. Replace the failed part with an exact match, and while the faucet is apart, replace the O-ring too, since it is cheap and already in your hand. Coat new washers and O-rings with plumber’s grease. If you see white crust on any metal part, soak it in white vinegar for ten to fifteen minutes and scrub it with an old toothbrush.
Step 6: Reassemble and Test
Put the faucet back together in reverse order, tightening firmly but not so hard that you crack a fitting. Turn the water supply back on slowly, then run both hot and cold and check for drips at the spout, the base, and the handle. Open and close the faucet several times. If the leak is gone, you are finished. If it keeps dripping, see the troubleshooting section below.
Fixes by Faucet Type
The general steps above get the faucet apart. Here is what to replace inside each type:
Compression Faucet
Remove the brass screw at the bottom of the stem and replace the seat washer, the part that does the actual sealing and fails most often. Replace the O-ring on the stem too, and coat the new one with plumber’s grease. If the valve seat looks pitted or rough, smooth it with a valve seat dresser, a small tool sold at hardware stores, or replace the seat if it unscrews. A rough seat will chew up a new washer in weeks.
Cartridge Faucet
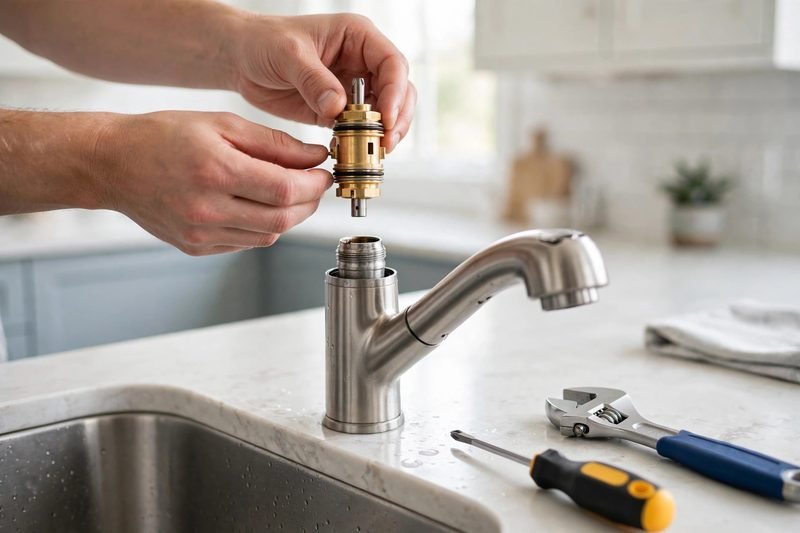
Pull the retaining clip and lift the cartridge straight out. A stubborn one may need a cartridge puller. Replace the whole cartridge with the same brand and model. Note the cartridge’s position before you remove it, because installing it backwards swaps hot and cold.
Ball Faucet
Lift out the ball and look at the rubber seats and springs underneath it. These small parts cause most ball faucet leaks. A repair kit for your faucet model includes new seats, springs, and O-rings. Replace them all, put a little plumber’s grease on the ball, and reassemble. If the ball itself is scratched, replace it too.
Ceramic Disc Faucet
The ceramic discs themselves rarely fail. Remove the disc cylinder, replace the rubber seals underneath it, and soak the cylinder in white vinegar to clear mineral deposits. If the seals are swollen or torn, that is your leak. Slide the cylinder back in, making sure the seals sit flat. If the faucet still leaks after new seals, the discs may be cracked and the whole cylinder needs replacing.
Troubleshooting: When the Drip Won’t Stop
If you replaced the obvious part and the faucet still drips, work through these checks:
- The drip continues after a new washer. The valve seat is probably pitted. Dress it smooth with a seat dresser or replace it.
- Water leaks from the base of the spout. The O-ring on the spout is worn, or the spout nut is loose. Replace the O-ring and tighten the nut.
- Water leaks from the handle. The packing nut is loose or the O-ring on the stem is worn. Tighten the packing nut gently. If that does not stop it, replace the O-ring.
- The handle is stiff or hard to turn. Mineral buildup is the usual cause. Take the handle off, clean the parts in vinegar, apply plumber’s grease, and reassemble.
- The faucet drips only when it is turned on. The aerator, the small screen at the tip of the spout, may be clogged. Unscrew it, rinse it, and soak it in vinegar.
- Low water pressure after the repair. Debris may be caught in the cartridge or the aerator. Take the aerator off and run the water briefly to flush the line.
When to Call a Plumber
DIY works for most simple drips, but some situations call for a licensed plumber. Call one if the leak keeps coming back after you have replaced the washer or cartridge, if water is leaking from under the sink or inside the wall, if the shutoff valves are corroded and will not turn, if more than one fixture is dripping at once, or if you see water damage, mold, or a soft spot in the cabinet floor. These signs point to a problem beyond the faucet. This article is educational only and is not professional plumbing advice. For electrical, gas, or structural work, always consult a qualified professional.
How to Prevent Future Leaks
A few small habits make your repair last longer. Do not crank the handle tighter than needed to stop the water, since over-tightening wears washers out fastest. Wipe up drips and mineral crust around the spout before they harden. Keep your water pressure in the normal 40 to 60 psi range, because high pressure shortens the life of every fixture in your home. If your water is very hard, clean the aerator every few months. Once a year, look under the sink for damp spots or corrosion. Catching a small leak early is always cheaper than fixing water damage later.
Frequently Asked Questions
How much does it cost to fix a leaky faucet?
Usually under 20 dollars. A washer or O-ring costs a few dollars, a cartridge costs 10 to 30 dollars, and a repair kit for a ball faucet is about the same. A plumber would typically charge 100 to 300 dollars for the same job.
How long does the repair take?
Most first-timers finish in 45 minutes to an hour, including the trip to the hardware store.
What if I cannot find the exact replacement part?
Take the old part to the hardware store and match it by size and shape, not by brand name alone. Washer assortments cover most sizes. For a cartridge, the brand and model matter more, so bring the old cartridge or the faucet’s model number.
Is a dripping faucet really wasting that much water?
Yes. A faucet dripping once per second wastes over 3,000 gallons a year, and a faster drip wastes far more. That adds up on your water bill, and the moisture can stain the sink and feed mold in the drain.
A Quiet Faucet in Under an Hour
A leaky faucet looks like a plumber’s job, but most of the time it is a ten-dollar part and an hour of your Saturday. Shut off the water, find your faucet type, replace the worn part, and test your work. You will save water and money, and never hear that drip again.
If this guide helped, you may also enjoy our beginner’s guide to patching a hole in drywall, our guide to unclogging a drain without chemicals, our guide to fixing a squeaky door hinge, and our guide to fixing a running toilet. You can also learn more on our About page, reach us through our Contact Us page, read our Privacy Policy, and read our Disclaimer. This article is educational only, not professional advice. For plumbing, electrical, gas, or structural work, consult a qualified professional, and always follow safety precautions.